Growing up for Thanksgiving, my mom has often made her famous rainbow jello for a Thanksgiving side dish. With seven layers, it can get a bit time-consuming (if every layer has to sit for at least 45 minutes before you add the next layer… you do the math.) This year, I decided to try something a little different with the layered jello. I wanted to do something fun, so I searched for ‘polka dot jello’ on Pinterest.
It didn’t exist.
I tried other forms of the phrase, but nothing came up. Then the thought came to me.
I CAN MAKE SOMETHING ORIGINAL ON PINTEREST!!!!
So I dove into the project, with some help from Colton, and hoped for the best! I think it ended up pretty successful!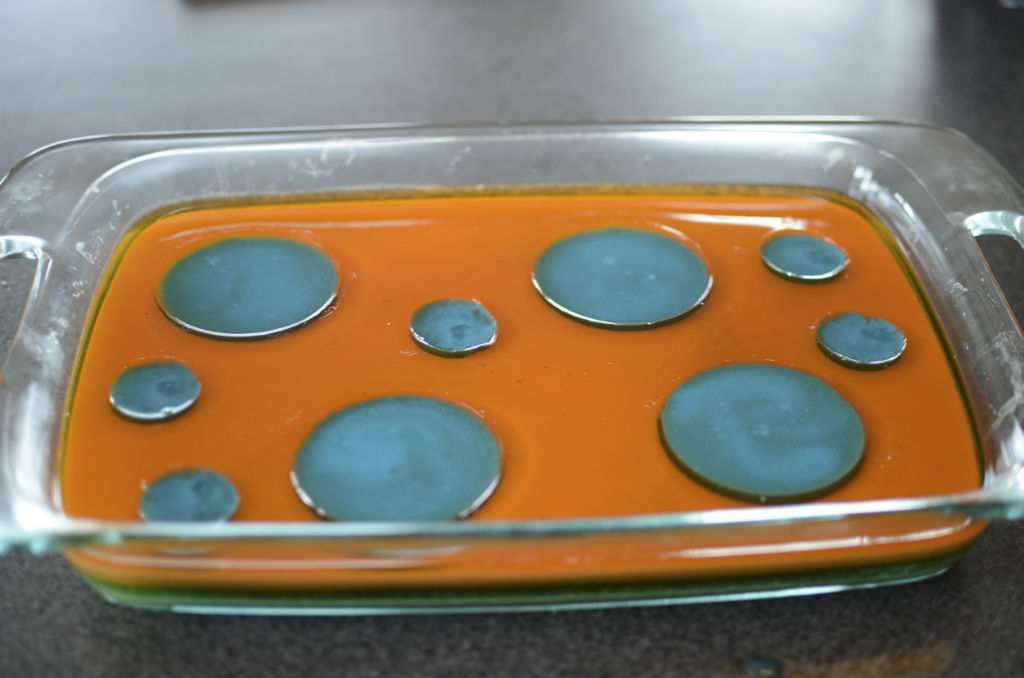
My Process:
What you will need:
- Three 6 oz packages of three different colors of jello. Or two of each color of the smaller boxes.
- Two cooking pots
- Measuring cup
- Round cookie cutter of a couple different sizes
- Sour cream
- Cooking spray
- 9X13 baking pan
- Patience!
- Prep Time: 3-4 hours
- Jello is super easy to make. The 6 oz packages will tell you to use a total of 4 cups of water for the whole package. However, I usually use a 1/4 – 1/3 less water. It will help the jello solidify faster and be a bit sweeter.
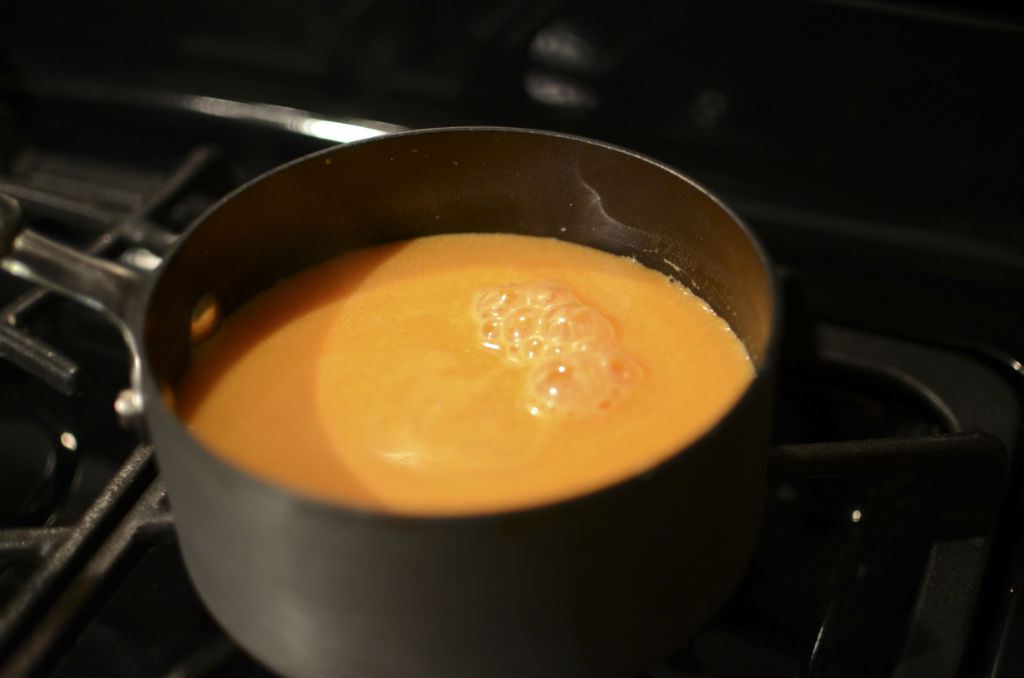
- I split each package in half (by eye-balling), and boil 1 C. of water. Pour the first half-package into the boiling water, stirring as you do it.
- Sour cream turns the jello into an opaque color (essentially allowing you to have a dark and light color) so here you will either add roughly a tablespoon of sour cream for your first layer, or leave it out. When the powder and sour cream are completely dissolved, add 3/4 cup of cold water.
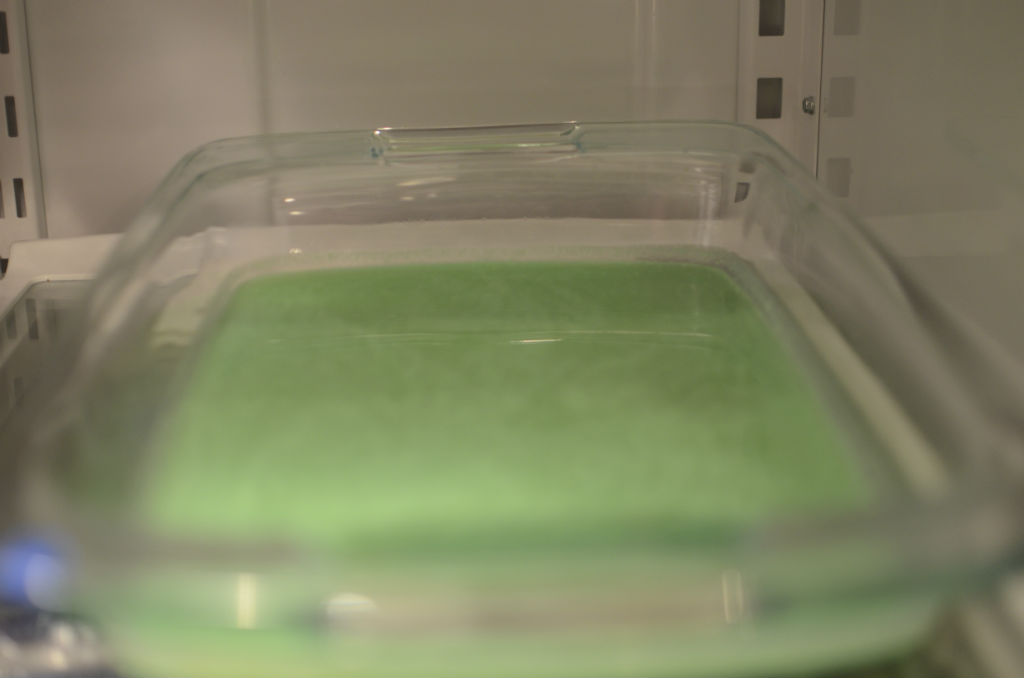
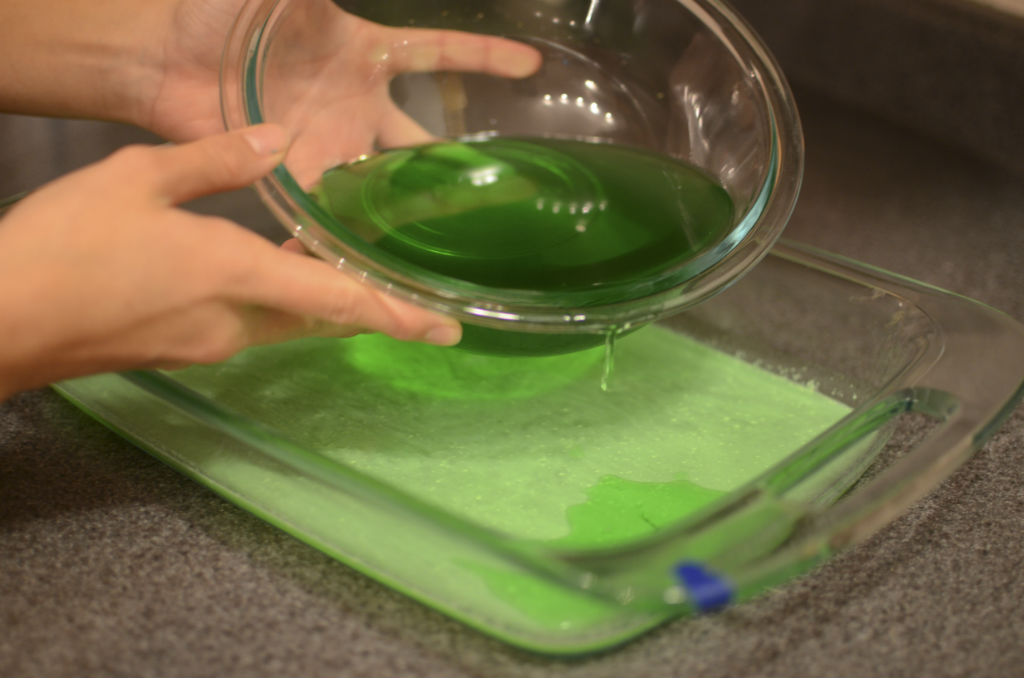
- Pour your first layer into the pan and set it in the fridge. Make sure it is even. Our fridge is slightly tilted toward the back, so I switch the end that goes in first every layer. Or you can try and level it out with paper.
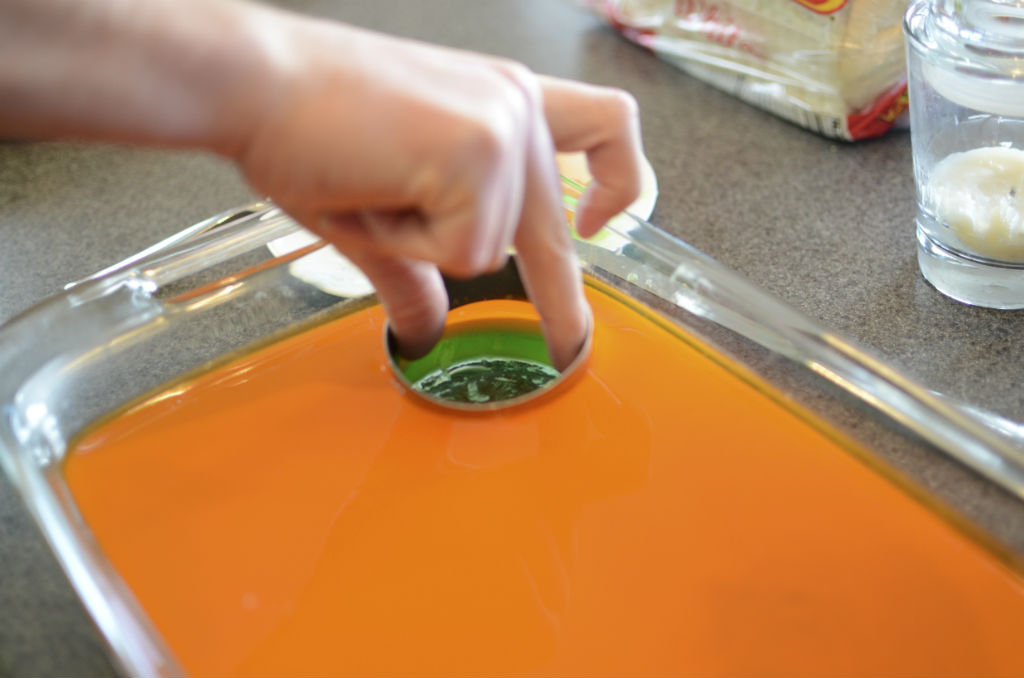
- The layer needs to set for at least 45 minutes. If you are using a smaller baking pan, thus a thicker layer of jello, you will need a longer setting time. To test if the layer is ready, lightly touch the top with a dry fingertip. If the jello doesn’t stick to your finger, it is close or all set.
Meanwhile, make the second layer of your jello. You can either use the same color or pick a new color. You can set it out to cool on the stove while the first layer is setting. Then once you pour the second layer, make the third, while the third is setting, make the fourth, and so forth.
As you are making the layers, take note of how deep they are getting in comparison to your cookie cutter. Your next step, once all the layers have set, is to cut out the polka dots. This will be much easier if the layers are as deep or slightly lower than the cookie cutter.
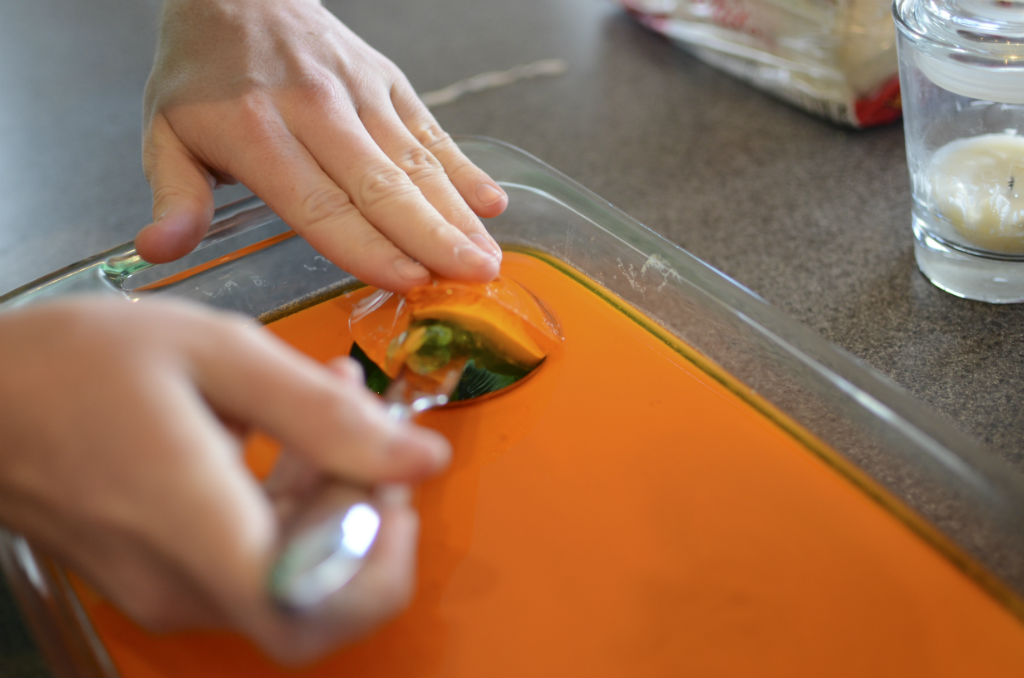
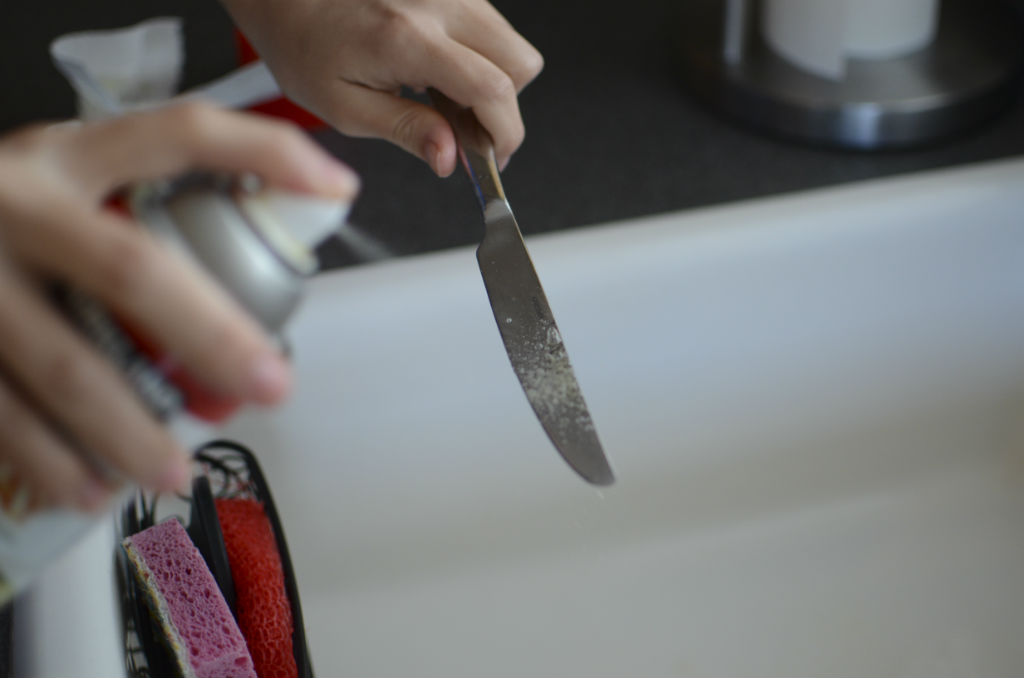
- First, spray the cookie cutter with cooking spray, coating the entire surface.
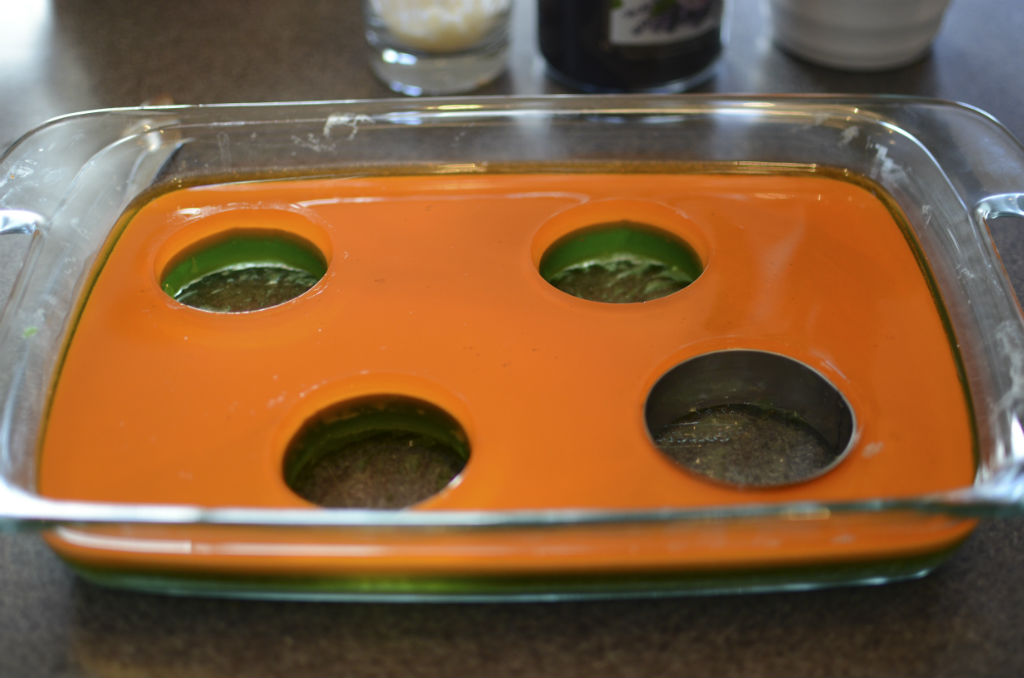
- Stick it into the jello until it hits the bottom of the pan.
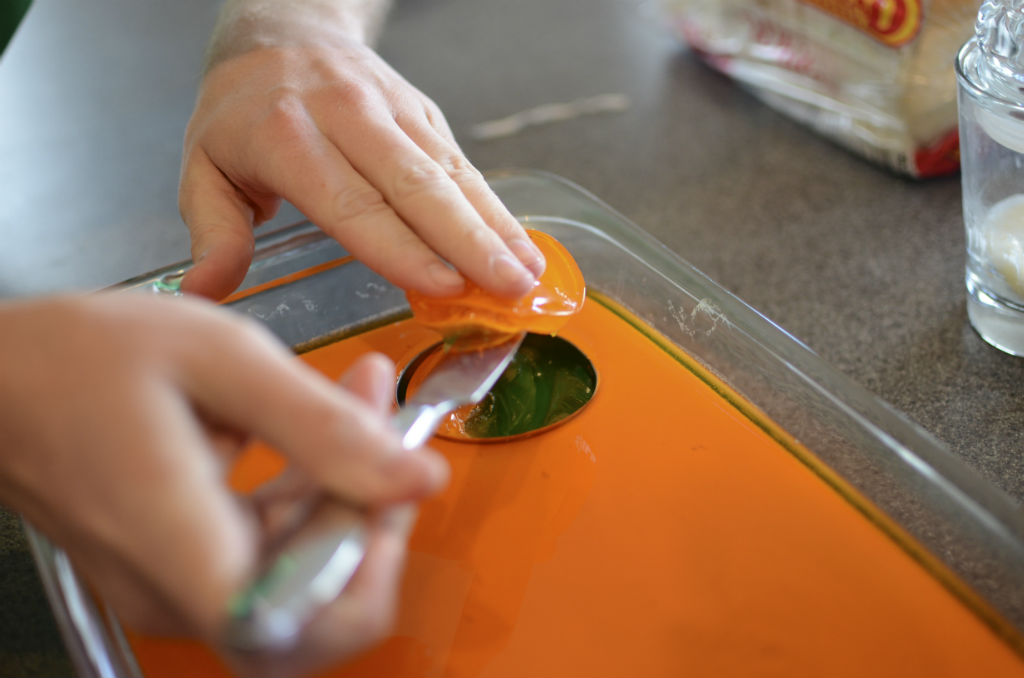
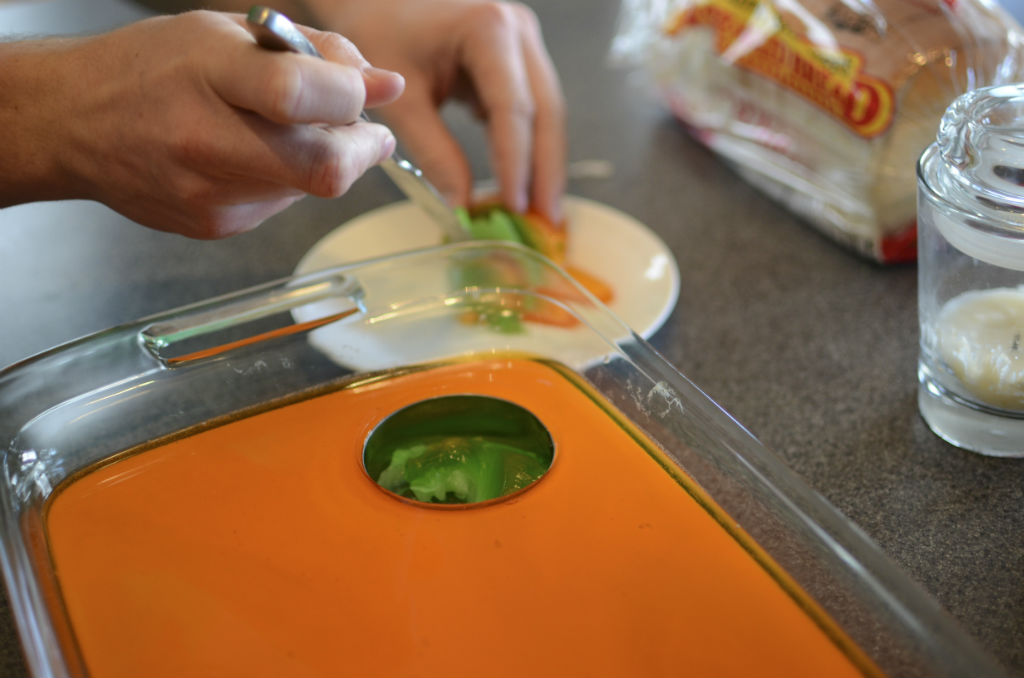
- Carefully use a spoon to scoop out the jello
- Pull out the cookie cutter slowly by pushing against the sides with your fingers.
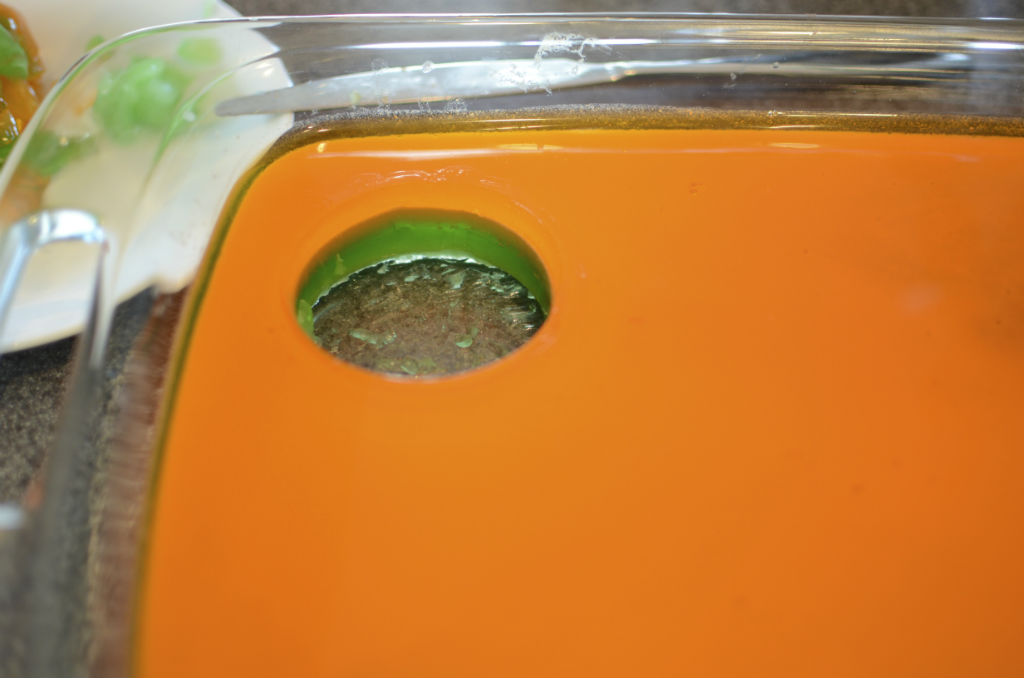
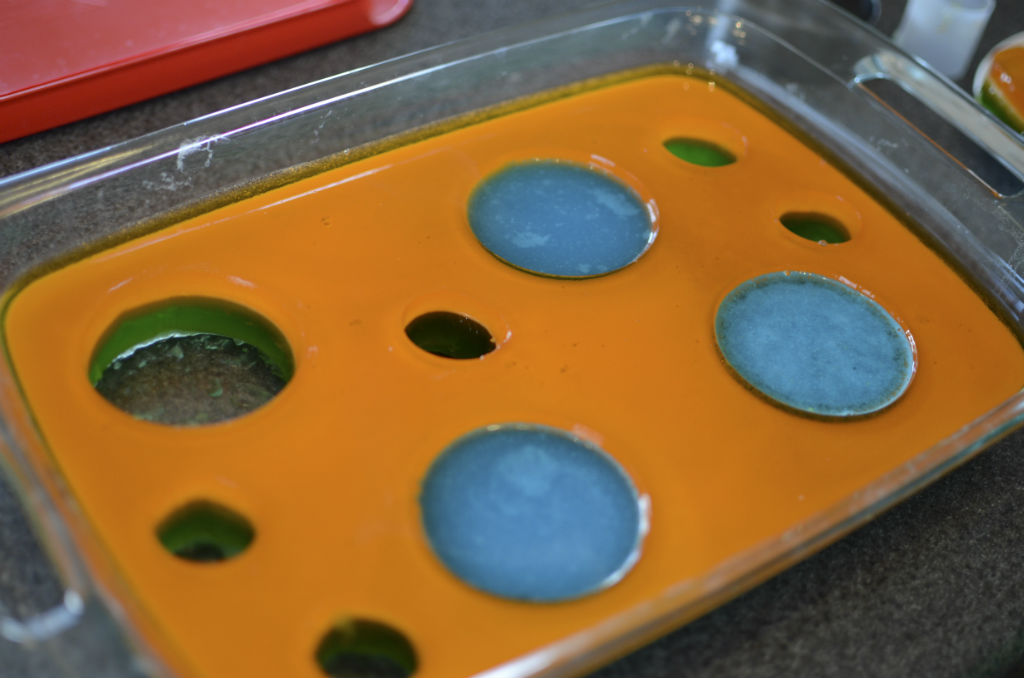
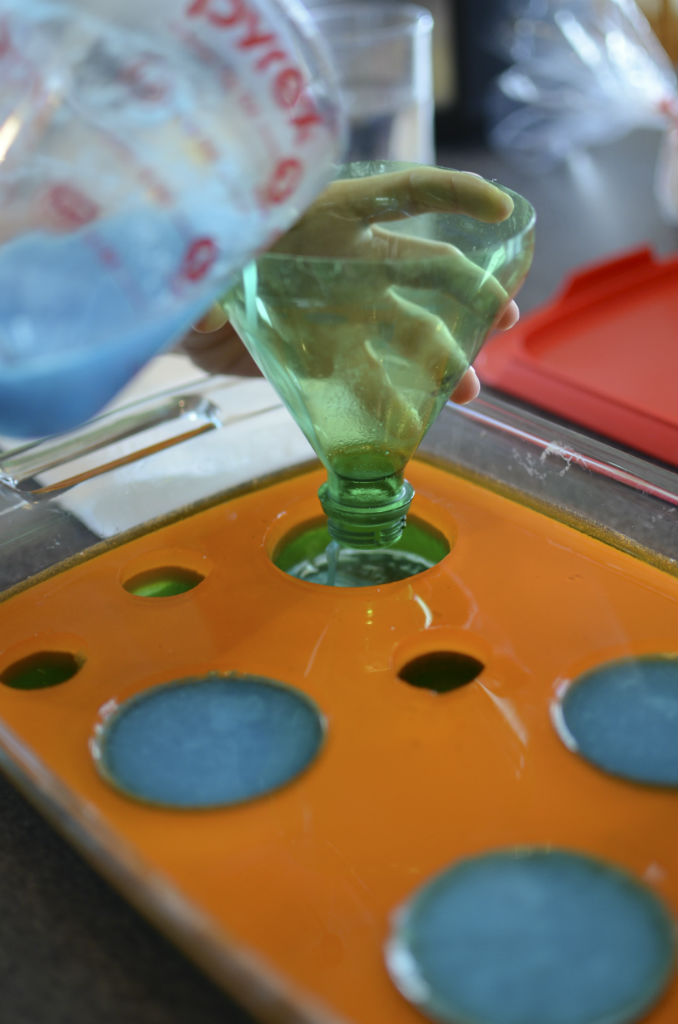
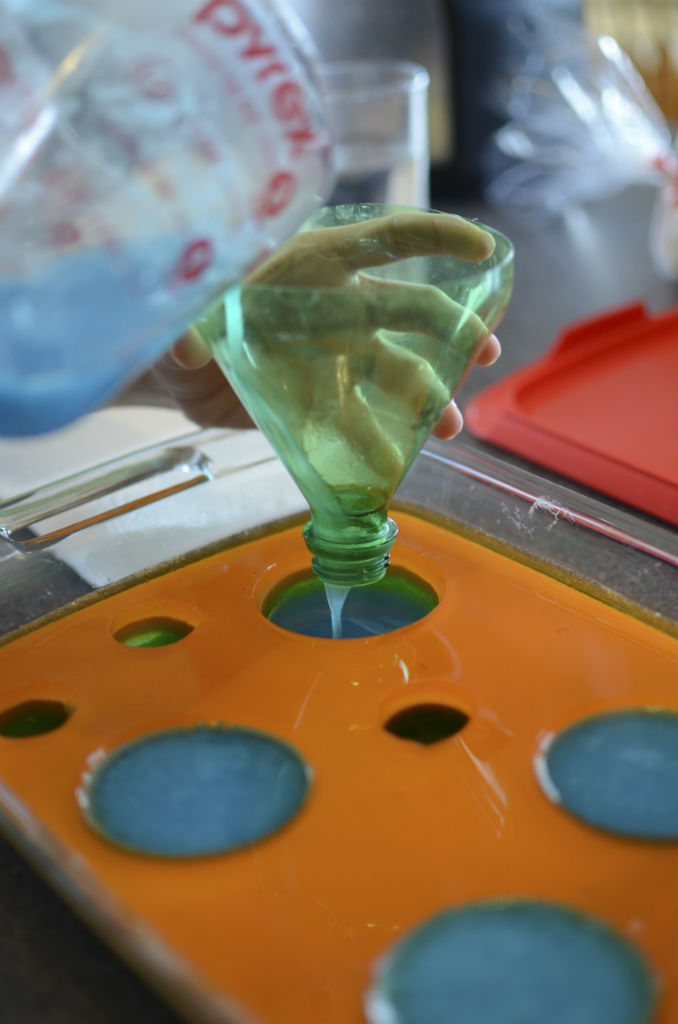
- Once you have all your dots, pour in the final layer of the jello with a funnel.
- Don’t fill the whole circle up, leave a few millimeters so you can move the whole pan into the fridge. Unless you have crazy balance skills.
- Wait for it to cool, and you’re done!
I’m putting all the pictures together so you can read the steps without being interrupted by pictures. 🙂

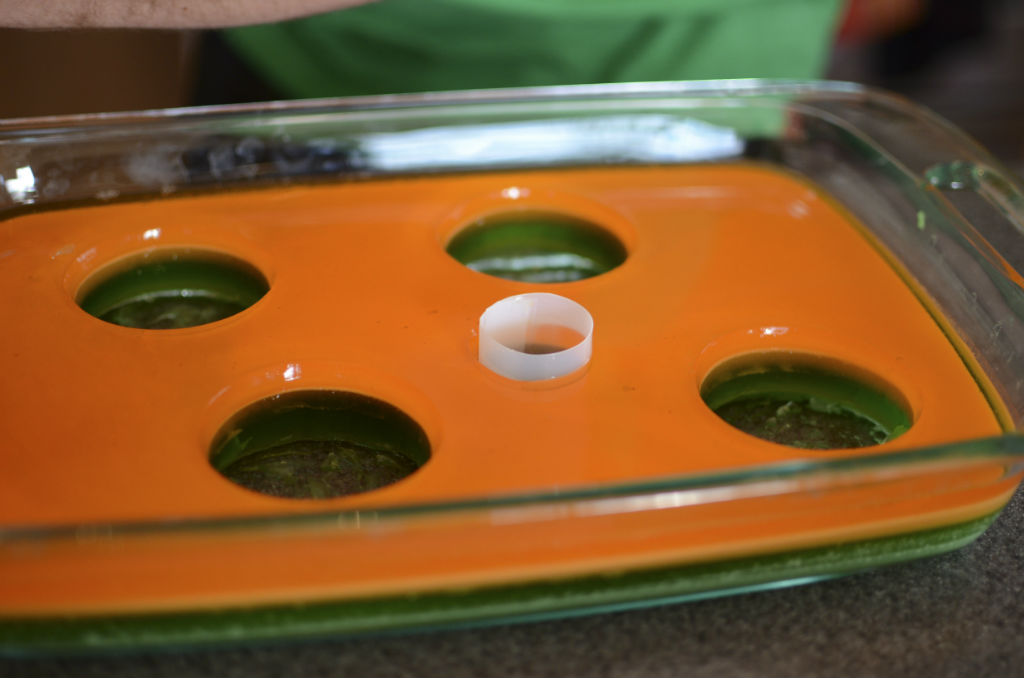
If the layer isn’t quite set, the jello will break, like this. If it’s in the middle you’ll be fine.

I put the blue in before it was cooled enough, which created this tie-dyed look. If you like it, great, but I didn’t love how the color mixed, so I waited a half hour and then filled the rest in with more blue. (It would look better with different colors.)
Tips:
- We didn’t have two sizes of cookie cutters, so Colton cut up a milk jug and taped a strip into a circle. It worked just as well as the cookie cutter.
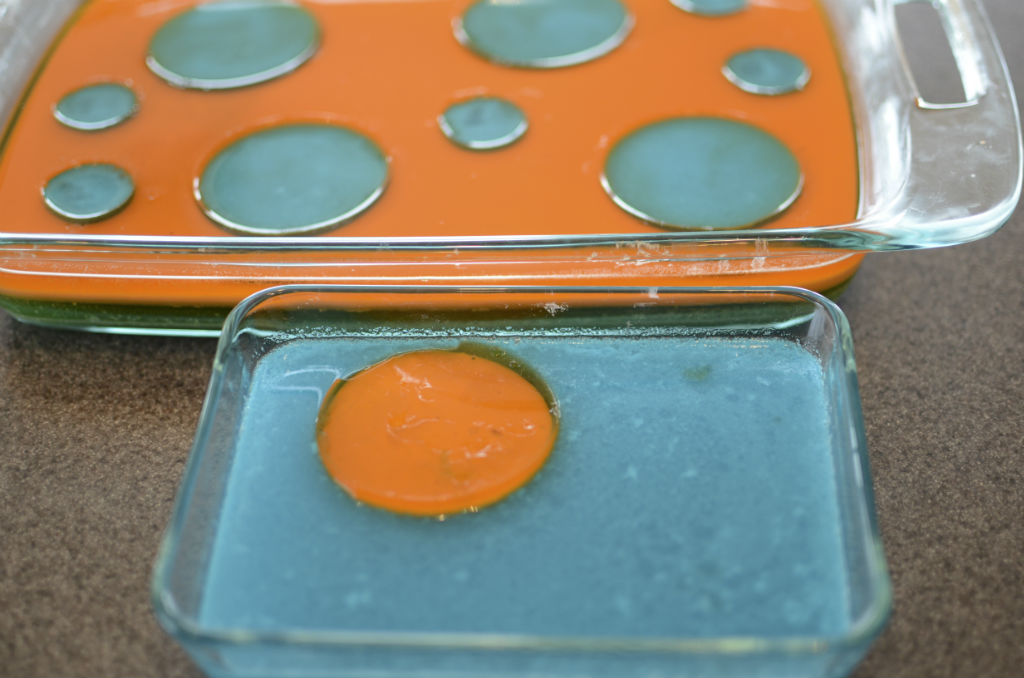
- If you can scoop out the circles and not break them, you can make a second, smaller Polka Dot Jello by pouring the leftover dot color in a smaller pan and placing the dot/dots inside. Ours looks like an afterthought, because it was one.
- If you like fruit in your jello, you can add them into the first layer and they will get covered by the other layers.
- If you want the tie-dyed look for your dots, pour the jello in the circles while it is still warm, but not too hot, or it will melt more than you want.
- Since this is a bit time-consuming but doesn’t take a lot of babysitting or effort, I made this while cleaning around the house and watching a movie. It didn’t feel like a long time at all, it was really fun!

Enjoy your Thanksgiving! 🙂


